|
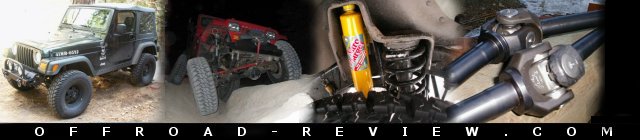
Product
being reviewed: M.O.R.E.
1" aluminum body lift
INTRODUCTION:
Project
Willy's has recently outfitted with a new suspension
lift along with a new set of tires. Next we needed
just a touch more lift to help accommodate the 33"
tires that arrived. We contacted our buddy's at
M.O.R.E. for one of there reputable 1" body lift
kits. Over the years we have always been very satisfied
with M.O.R.E.'s quality and craftsmanship. The
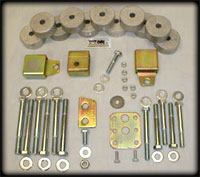
1" M.O.R.E. body lift is a very complete and stout
kit that is available for CJ, YJ and TJ's. What makes
the M.O.R.E. kit better than other 1" body lifts
is the material they use to make it. The 1" lift
pucks are constructed of 6061-T6 aircraft quality
aluminum. The bolts and hardware are all grade 8 (zinc
coated). That means the pucks will never dry out and
crack like the rubber ones. The bolts that secure
your Jeeps body are way overkill to ensure this kits
is the last body lift system you will purchase. Here
at Offroad-Review we are strong believers in doing
things right the first time. "Do it once, Do it
right". M.O.R.E. must have the same
thoughts when there producing new product ideas.
Why
run a 1" body lift?
-
1"
increased height allows more clearance for the
tires your running now or in our case to help accommodate
for larger tires.
-
Allows
you to lift your motor 1" for more clearance
-
The
1" of clearance between the frame and body
allow more air to keep your drive train cooler
(personal assumption)
Installation:
The
install process was extremely straight forward and
simple. This is my 5th 1" body lift kit I have
installed on a Jeep. The only tools required to
perform this install are a floor jack, wood block and
a few sockets and a ratchet.
First
step to installing this lift is to loosen all the body
mounts on the Jeep. On one side remove the bolts
altogether. (Doesn't matter which side you start on
first) There are 11 total mounts. 5 down each side and
1 mount located under the grill. After removing one
side carefully place a jack under the body. Fortunately
for us project willy's came factory equipped with
steel rocker panels. We used this location to position
our jack. If you don't have rocker panels, find a sturdy
location under the body to place your wood block. I would
suggest distributing the weight of the body along the
bottom of the rocker panel. I used a 6x6 piece of wood
approximately 1ft. long to use between the jack and
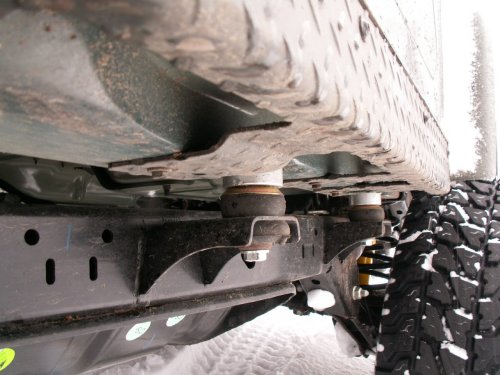
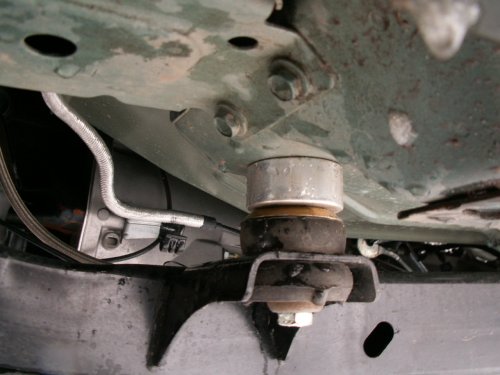
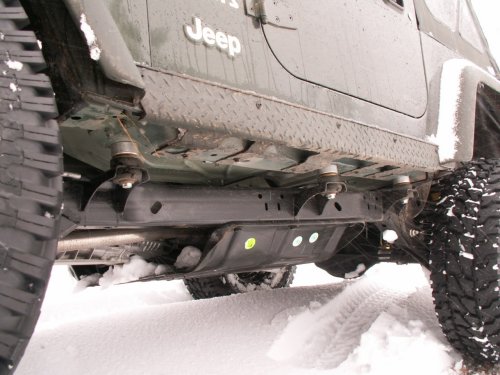
the rocker panel. Next step is to simply lift
the body up enough to slide the new 1" pucks
between the body and the factory rubber mount. Using
the supplied grade 8 hardware I hand tightened each
mount down before lowering the jack.
You are
going to want to leave the lifted side slightly
loosened to allow the body mounts to move freely when
lifting the other side. The same steps were taken on
the other side completing the installation of the lift
pucks.
M.O.R.E. provides a lowering bracket for your
transfer case linkage. No drilling required just
simply bolt the new bracket in place and attach the
factory linkage to it. Mountain offroad also includes
two zinc coated spacers to be placed under each side
of the grill. These are placed between the factory
rubber mounts and the frame attaching to an existing
bolt securing the sway bar system. The final step to
installing the 1" body lift included lowering the
fan shroud to accommodate the new lift. The lift
took about 1-hour to complete and was moderately
easy to install.
Evaluation:
After installing
the 1" body lift we were very satisfied with the
extra 1" of lift we needed to accommodate the
33" tires project Willy's is being outfitted
with. Like I said before the quality and craftsmanship
M.O.R.E. provided us was outstanding. By far the most
complete and best built 1" body lift system on
the market. Check out the pictures in the right
column.
Contact
Information:
|